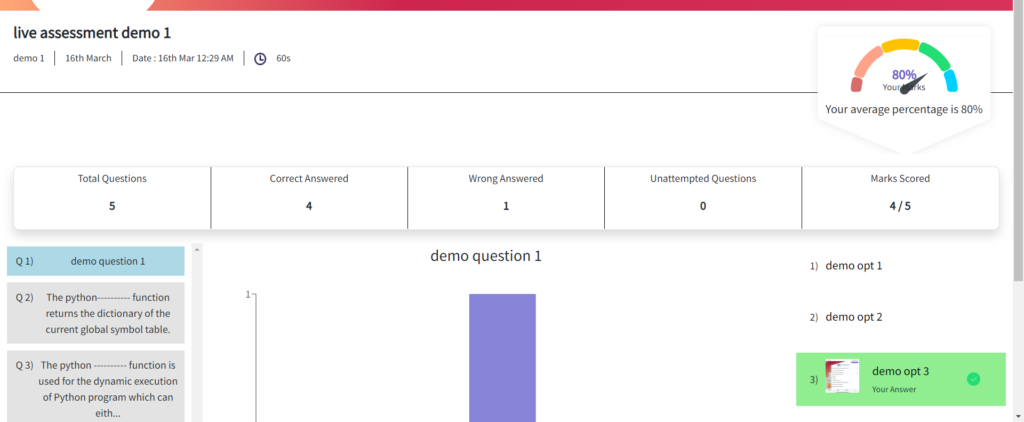
1. To access the Live Assessments feature click on the Live Assessment icon. You can find it on the right side of the Navigation Bar.
The icon is highlighted in the below image.

2. Once the icon has been selected the live assessment page appears where the student has to enter the code generated by the faculty and join by clicking on the ‘Join Live Assessment’ button.

3. Once the student joins the live assessment, they will be able to view the question displayed by the faculty.
 4. We have a new countdown timer feature. If the faculty starts the countdown timer, the student will be able to see the timer on the top right.
- The student can select an option and submit it before the timer ends.
- If the student selects an option and the timer ends before the student submits it, the selected option will be auto-submitted as the answer.

5. To preview the image file attached by the faculty select the image thumbnail to get the full view of the image.

6. Select the desired answer for the question displayed and click on submit answer button to submit the answer.

7. Once the answer is submitted, and when the faculty selects the ‘Show Question Results’ option, the student will be able to view the right and wrong answer shaded in green and red respectively.

8. When the faculty selects the ‘Next Question’ the student will be redirected and shown the next question.
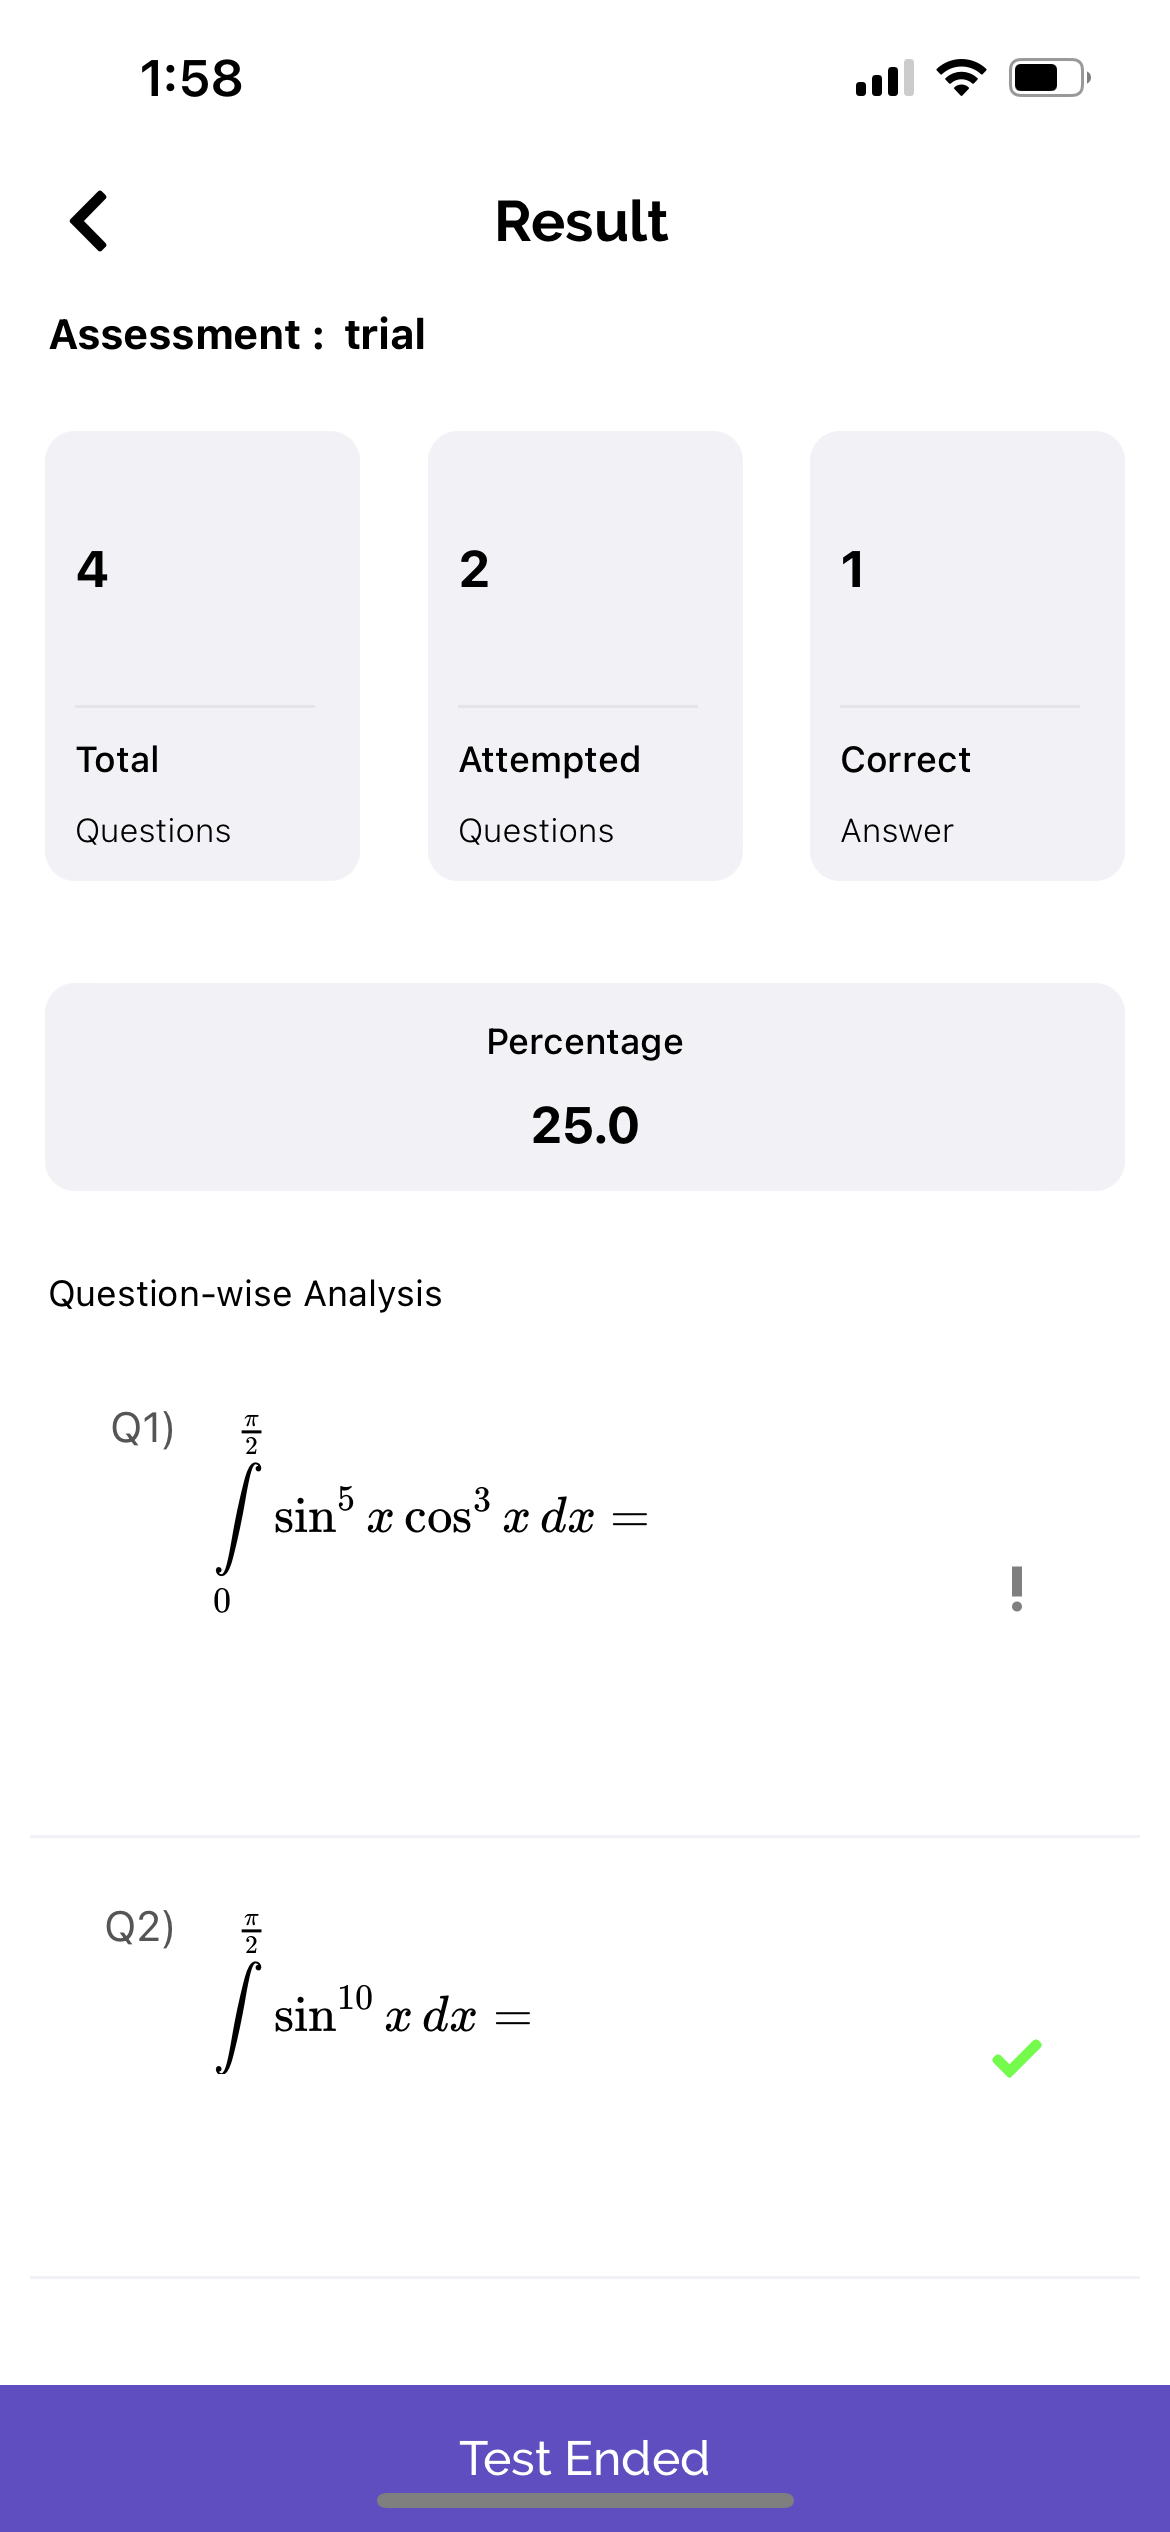
9. Once the faculty ends the test, the test is ended for the student automatically, and is redirected to the results page.
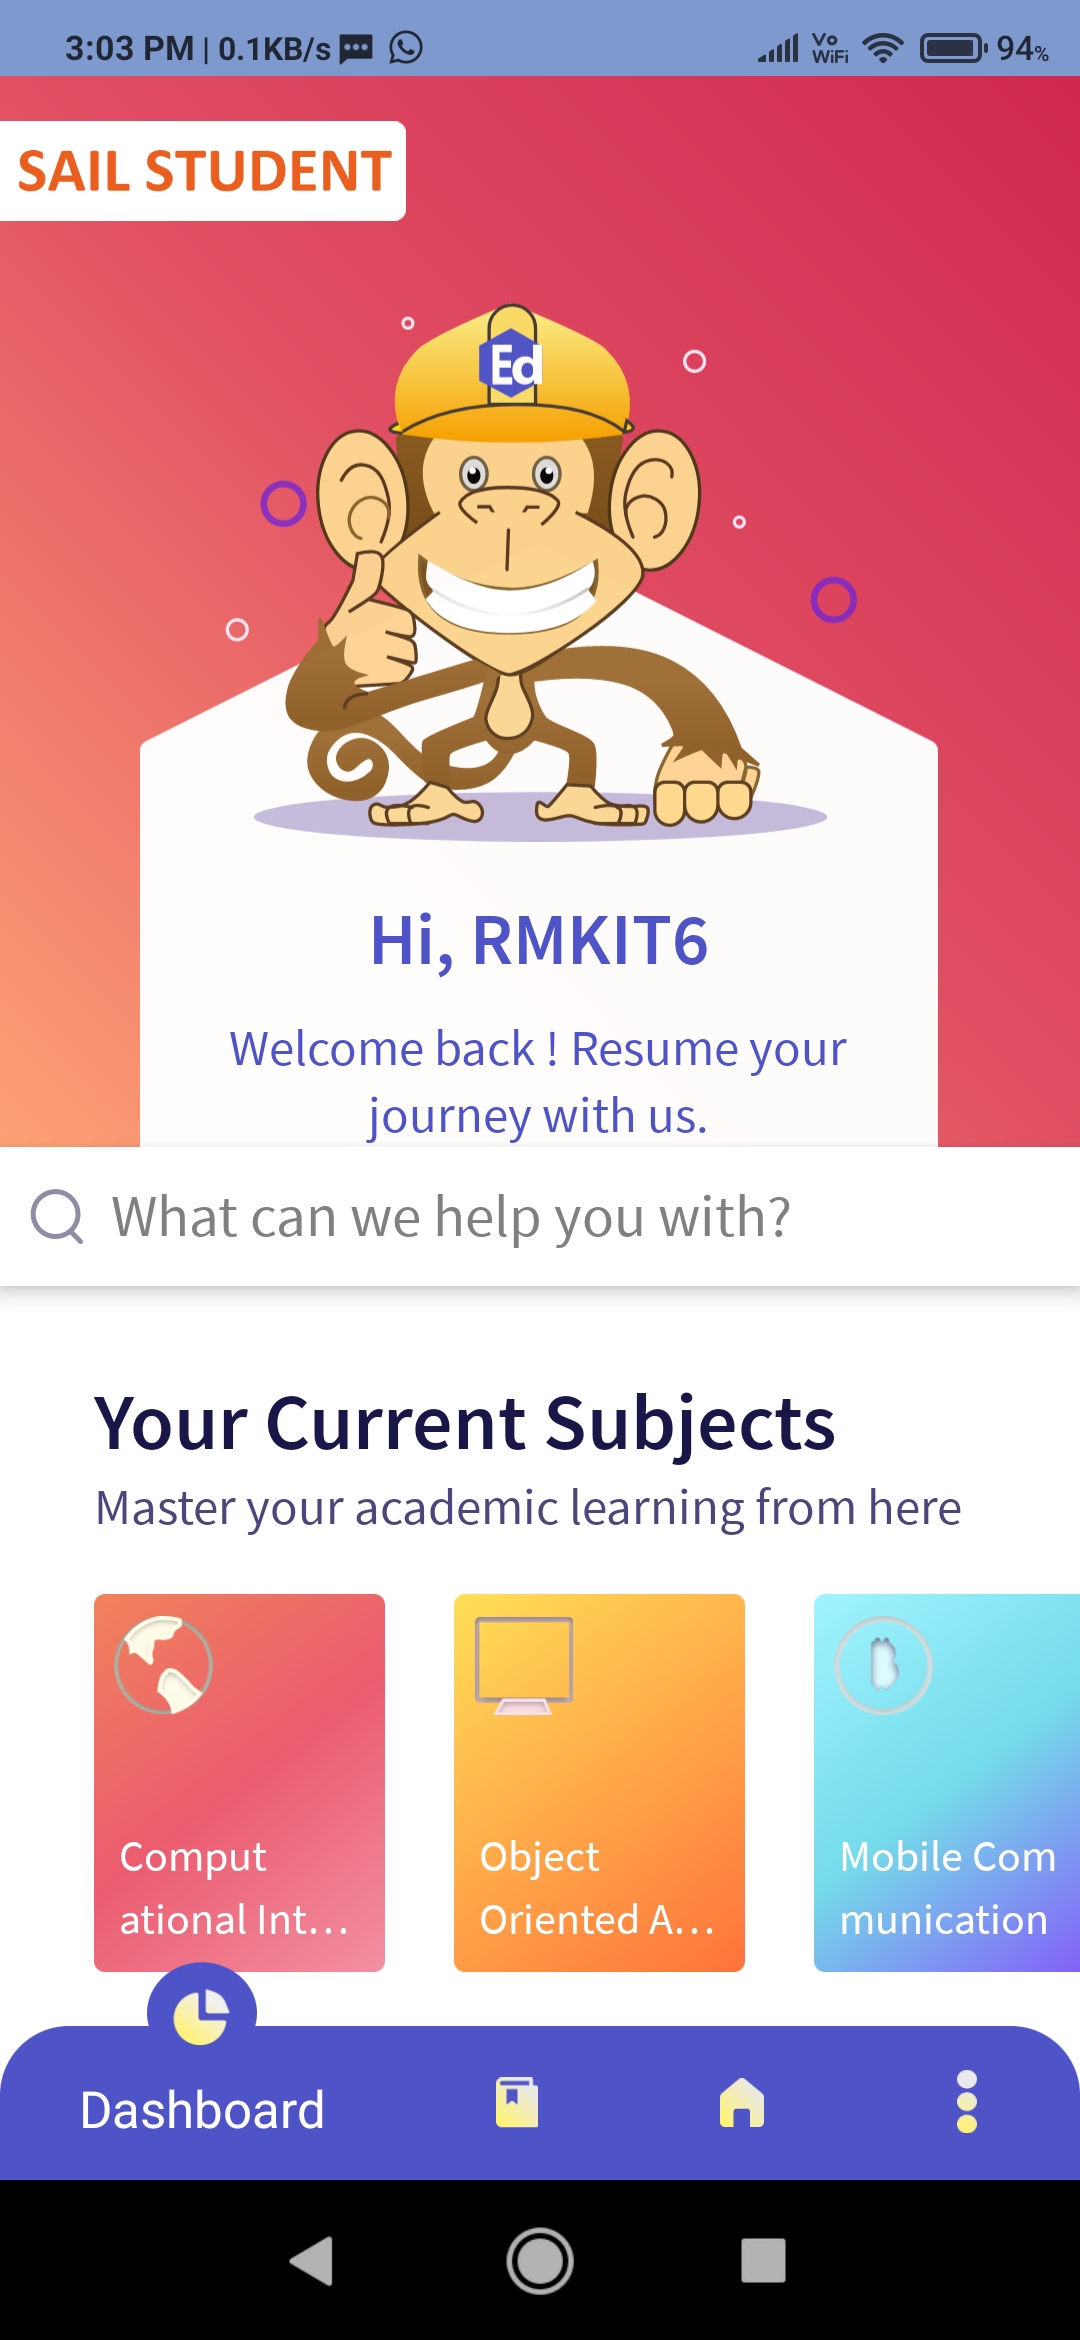
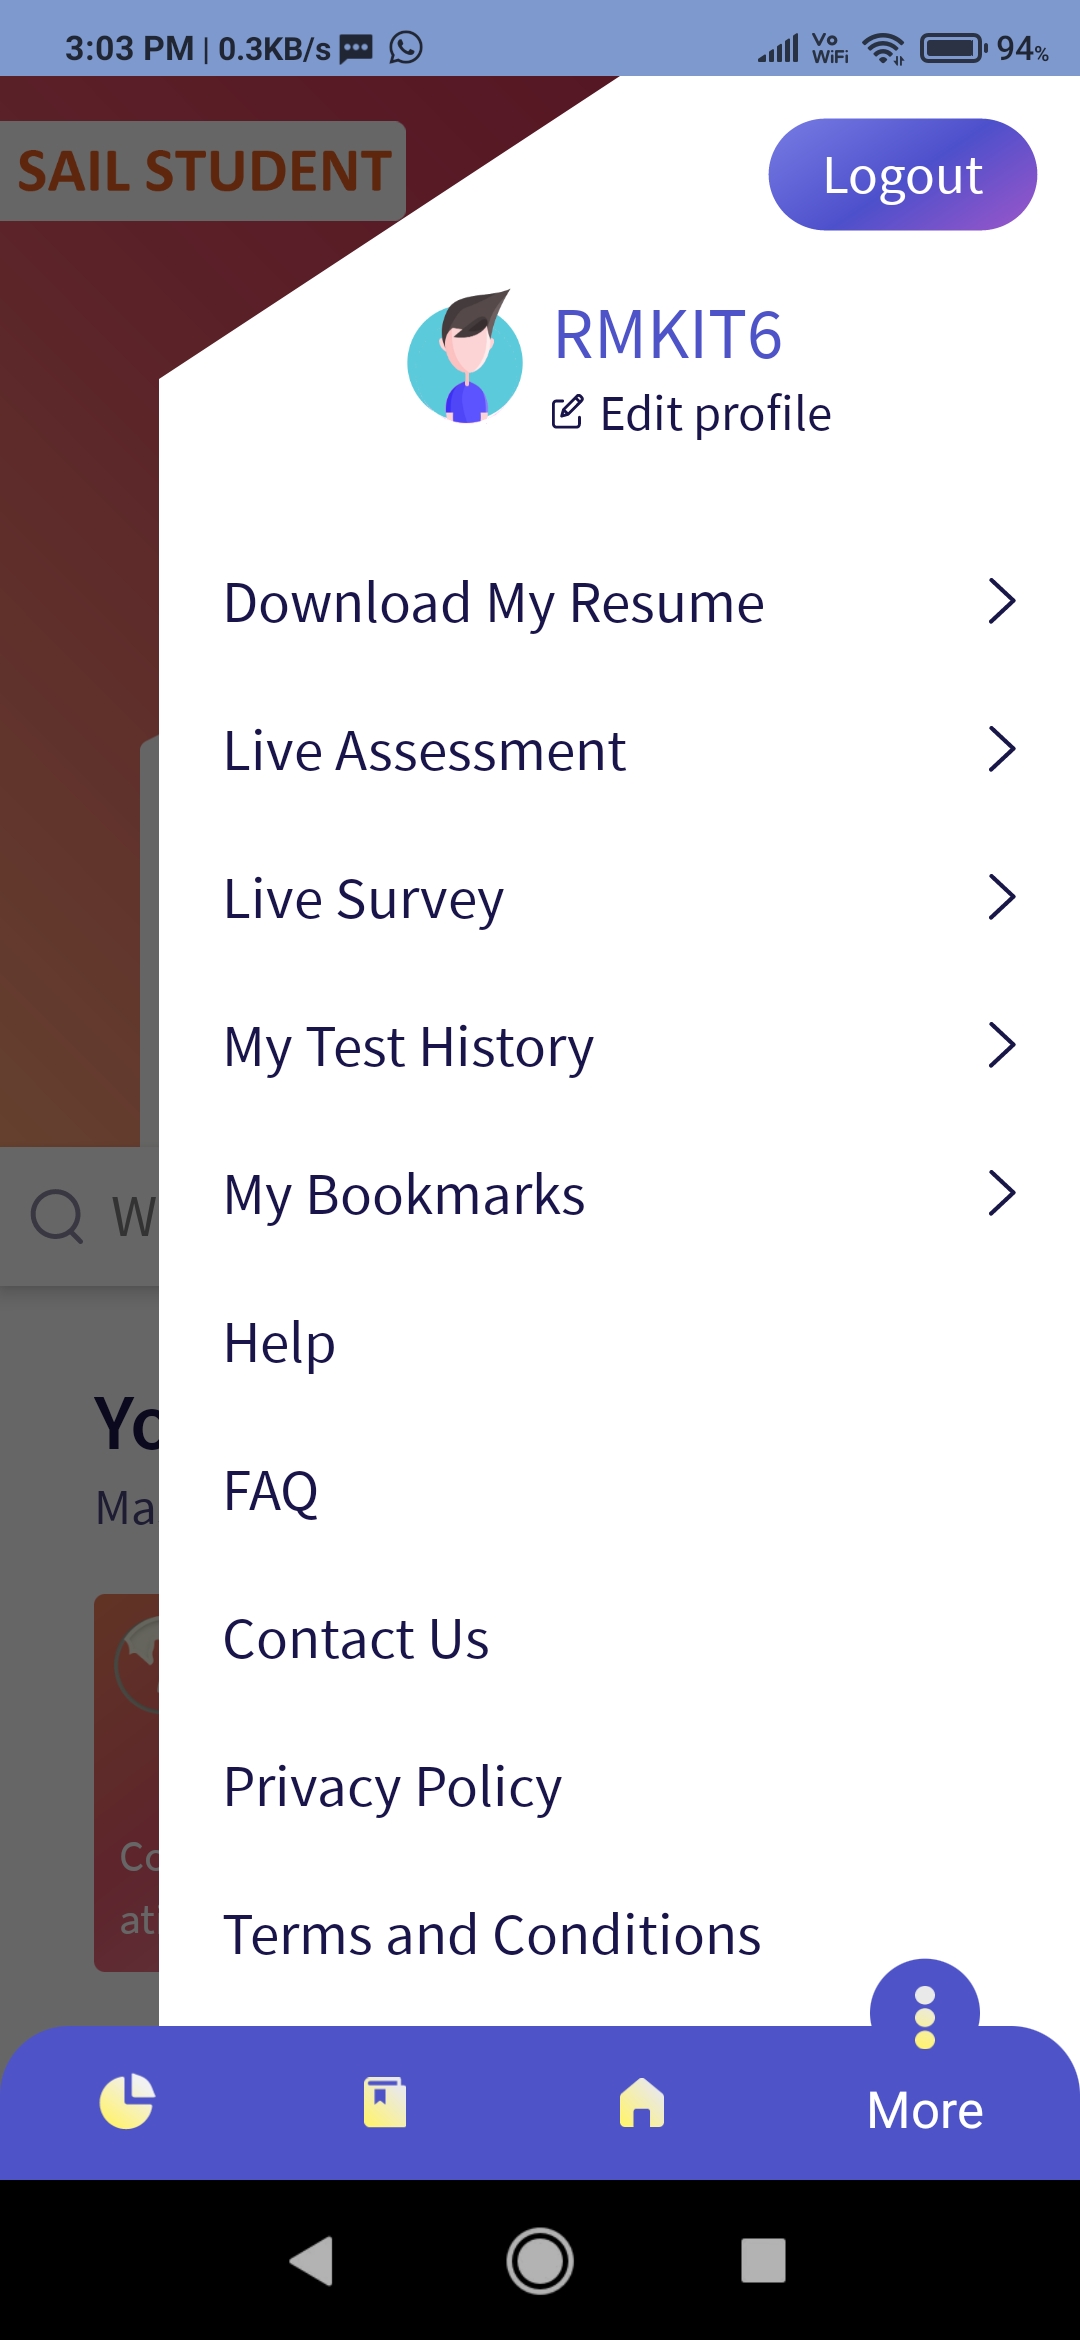
1. Select the more option from the footer present once the menu opens select the live assessment option.
2. Once the icon has been selected the live assessment page appears where the student has to enter the code generated by the faculty and join by clicking on the ‘Join Live Assessment’ button.
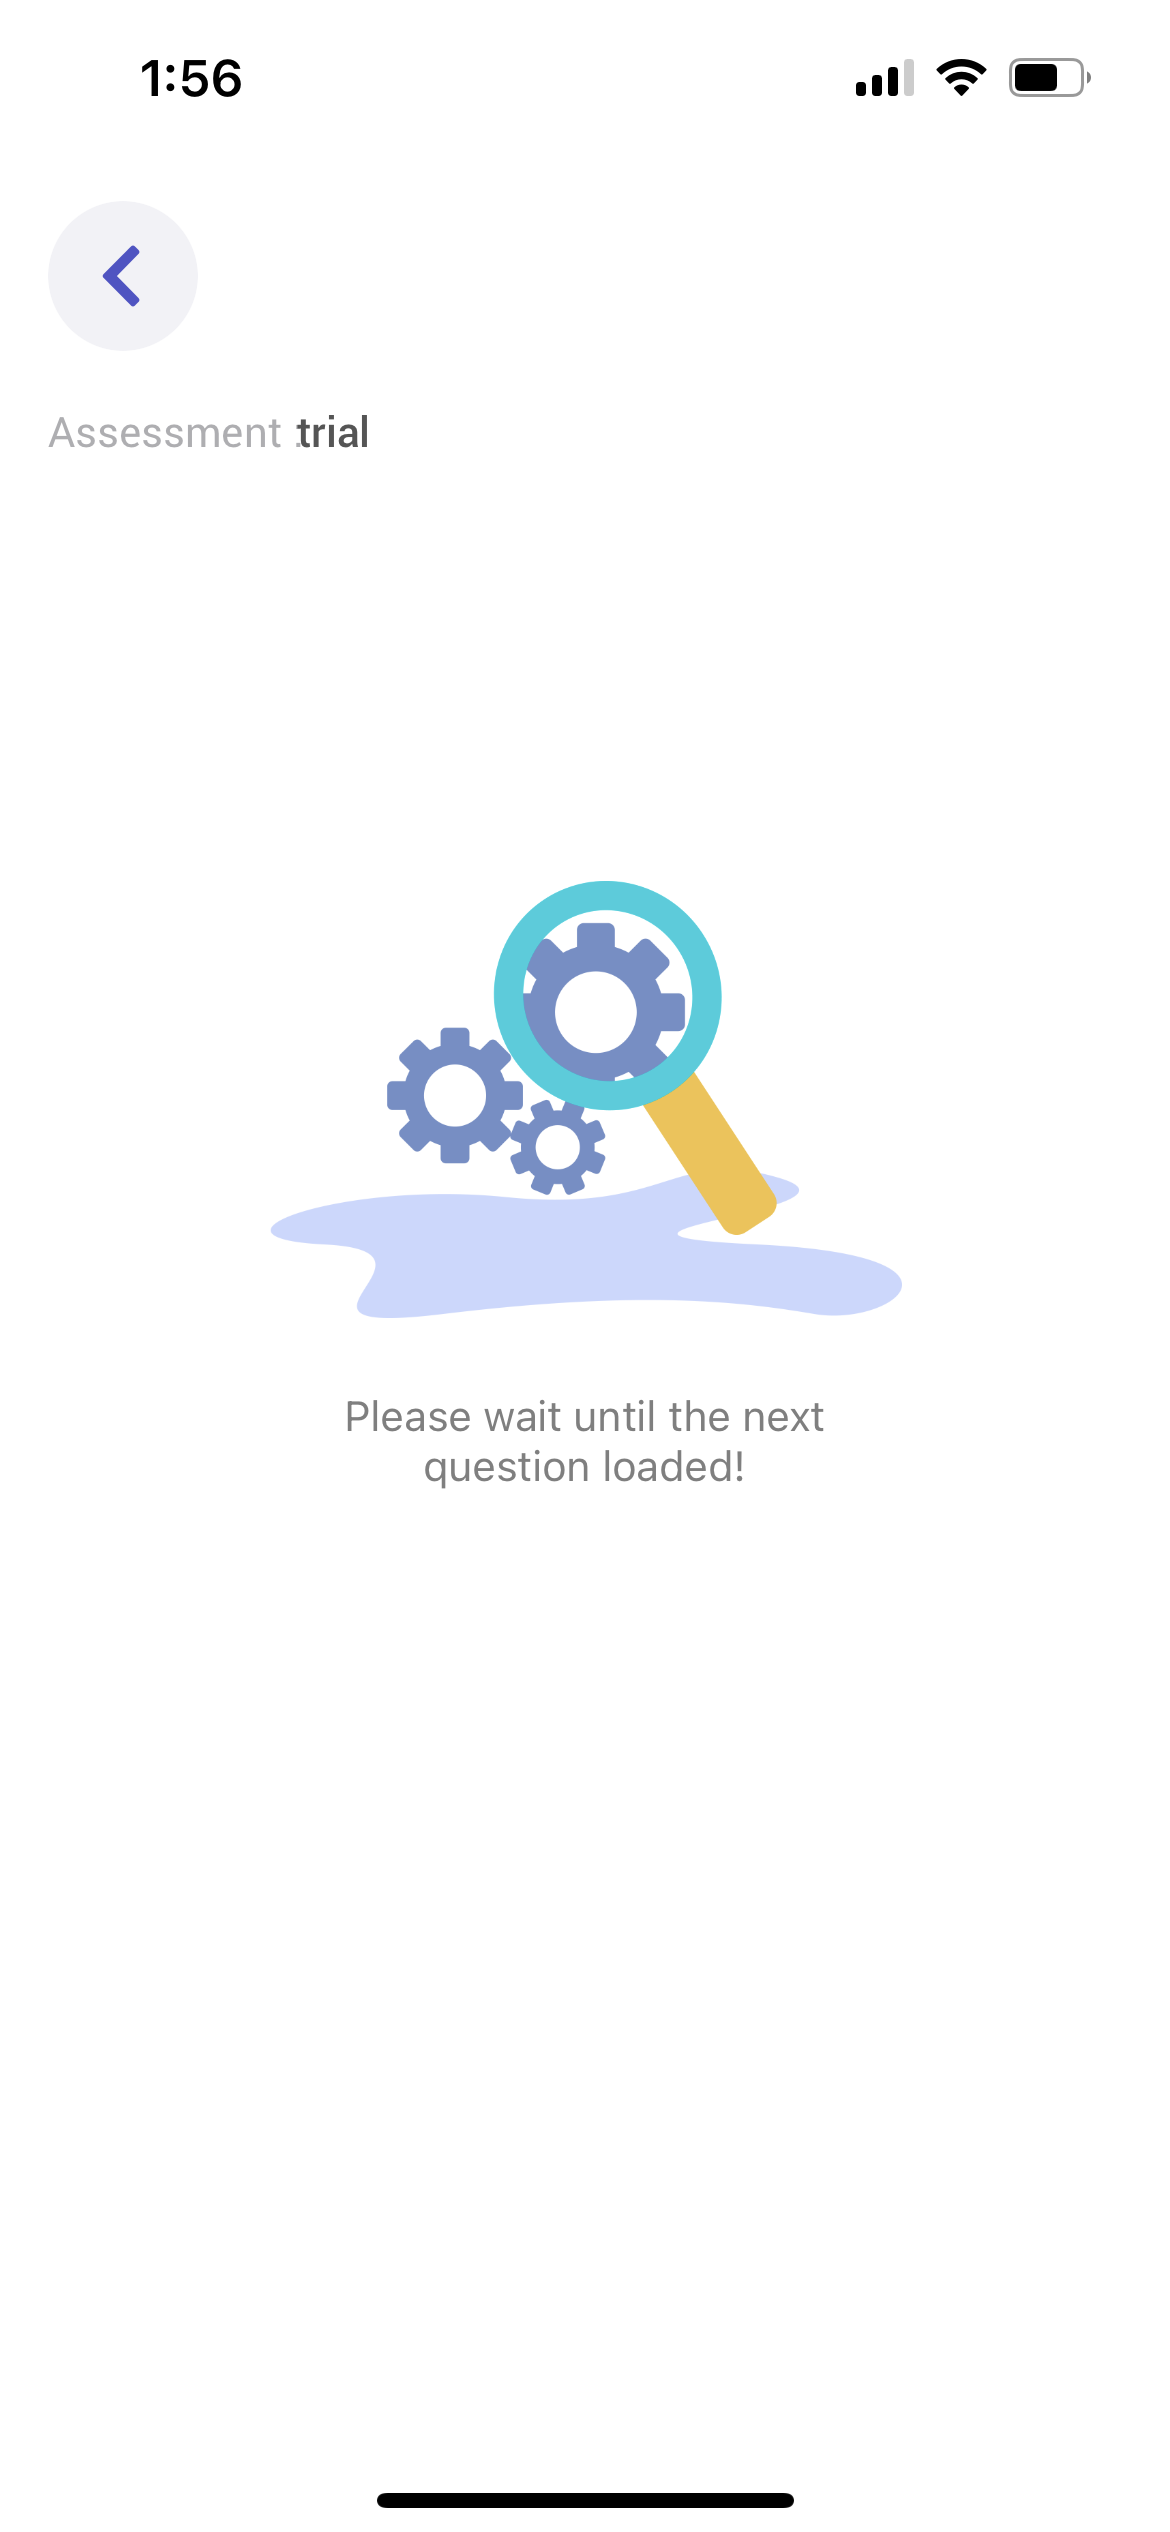
3. Once the student joins the live assessment, they will be able to view the question displayed by the faculty.
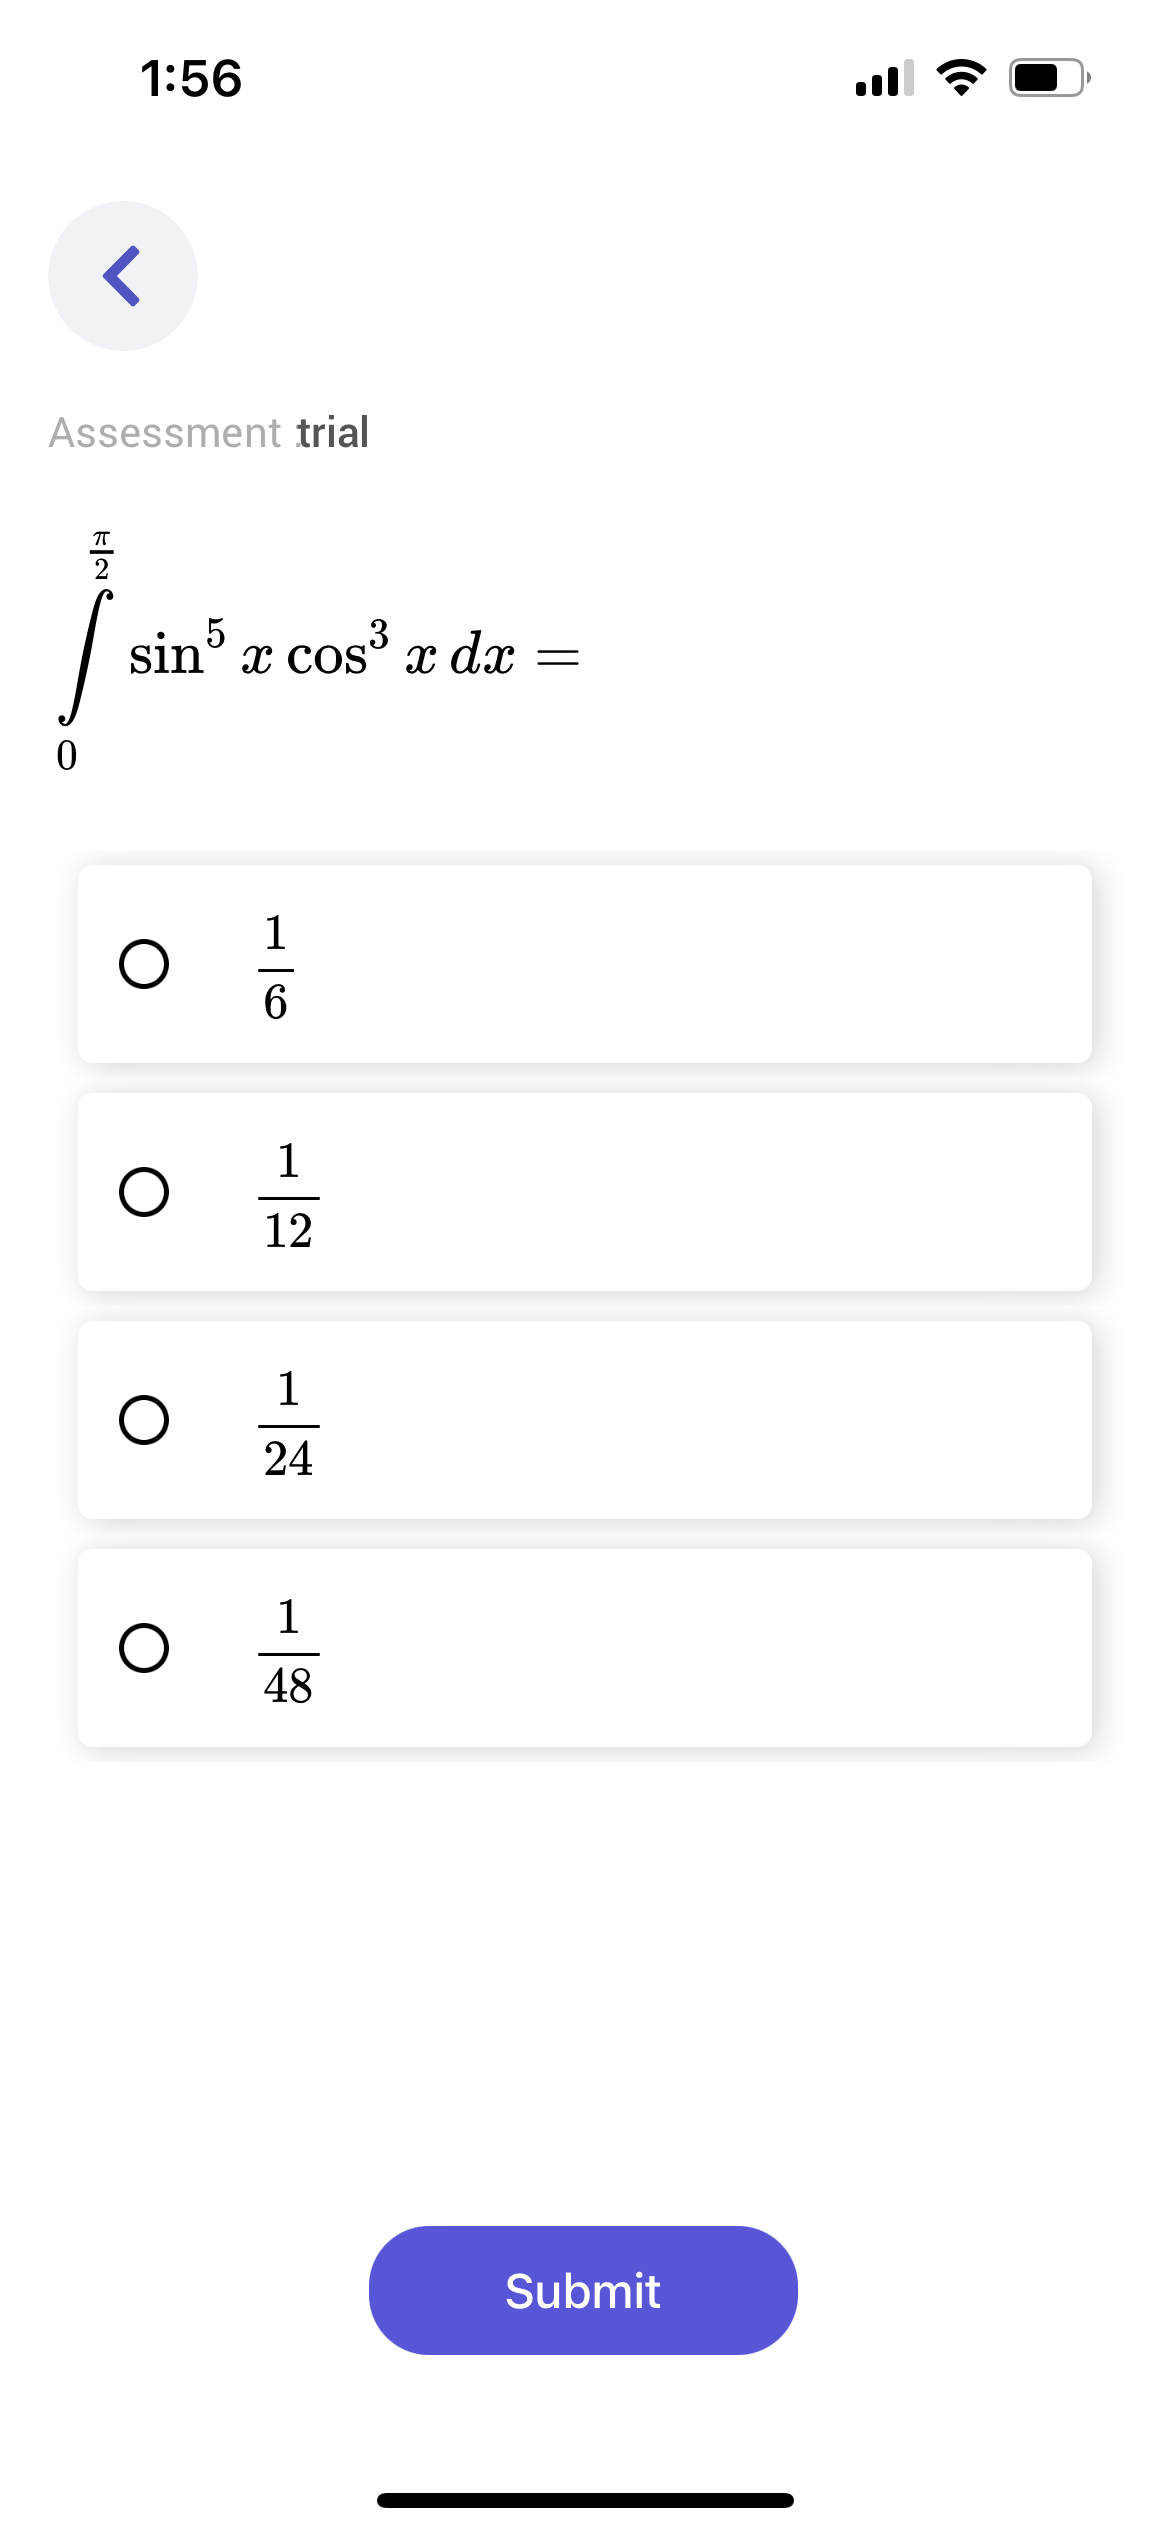
4. The student can select an option and submit it before the timer ends.
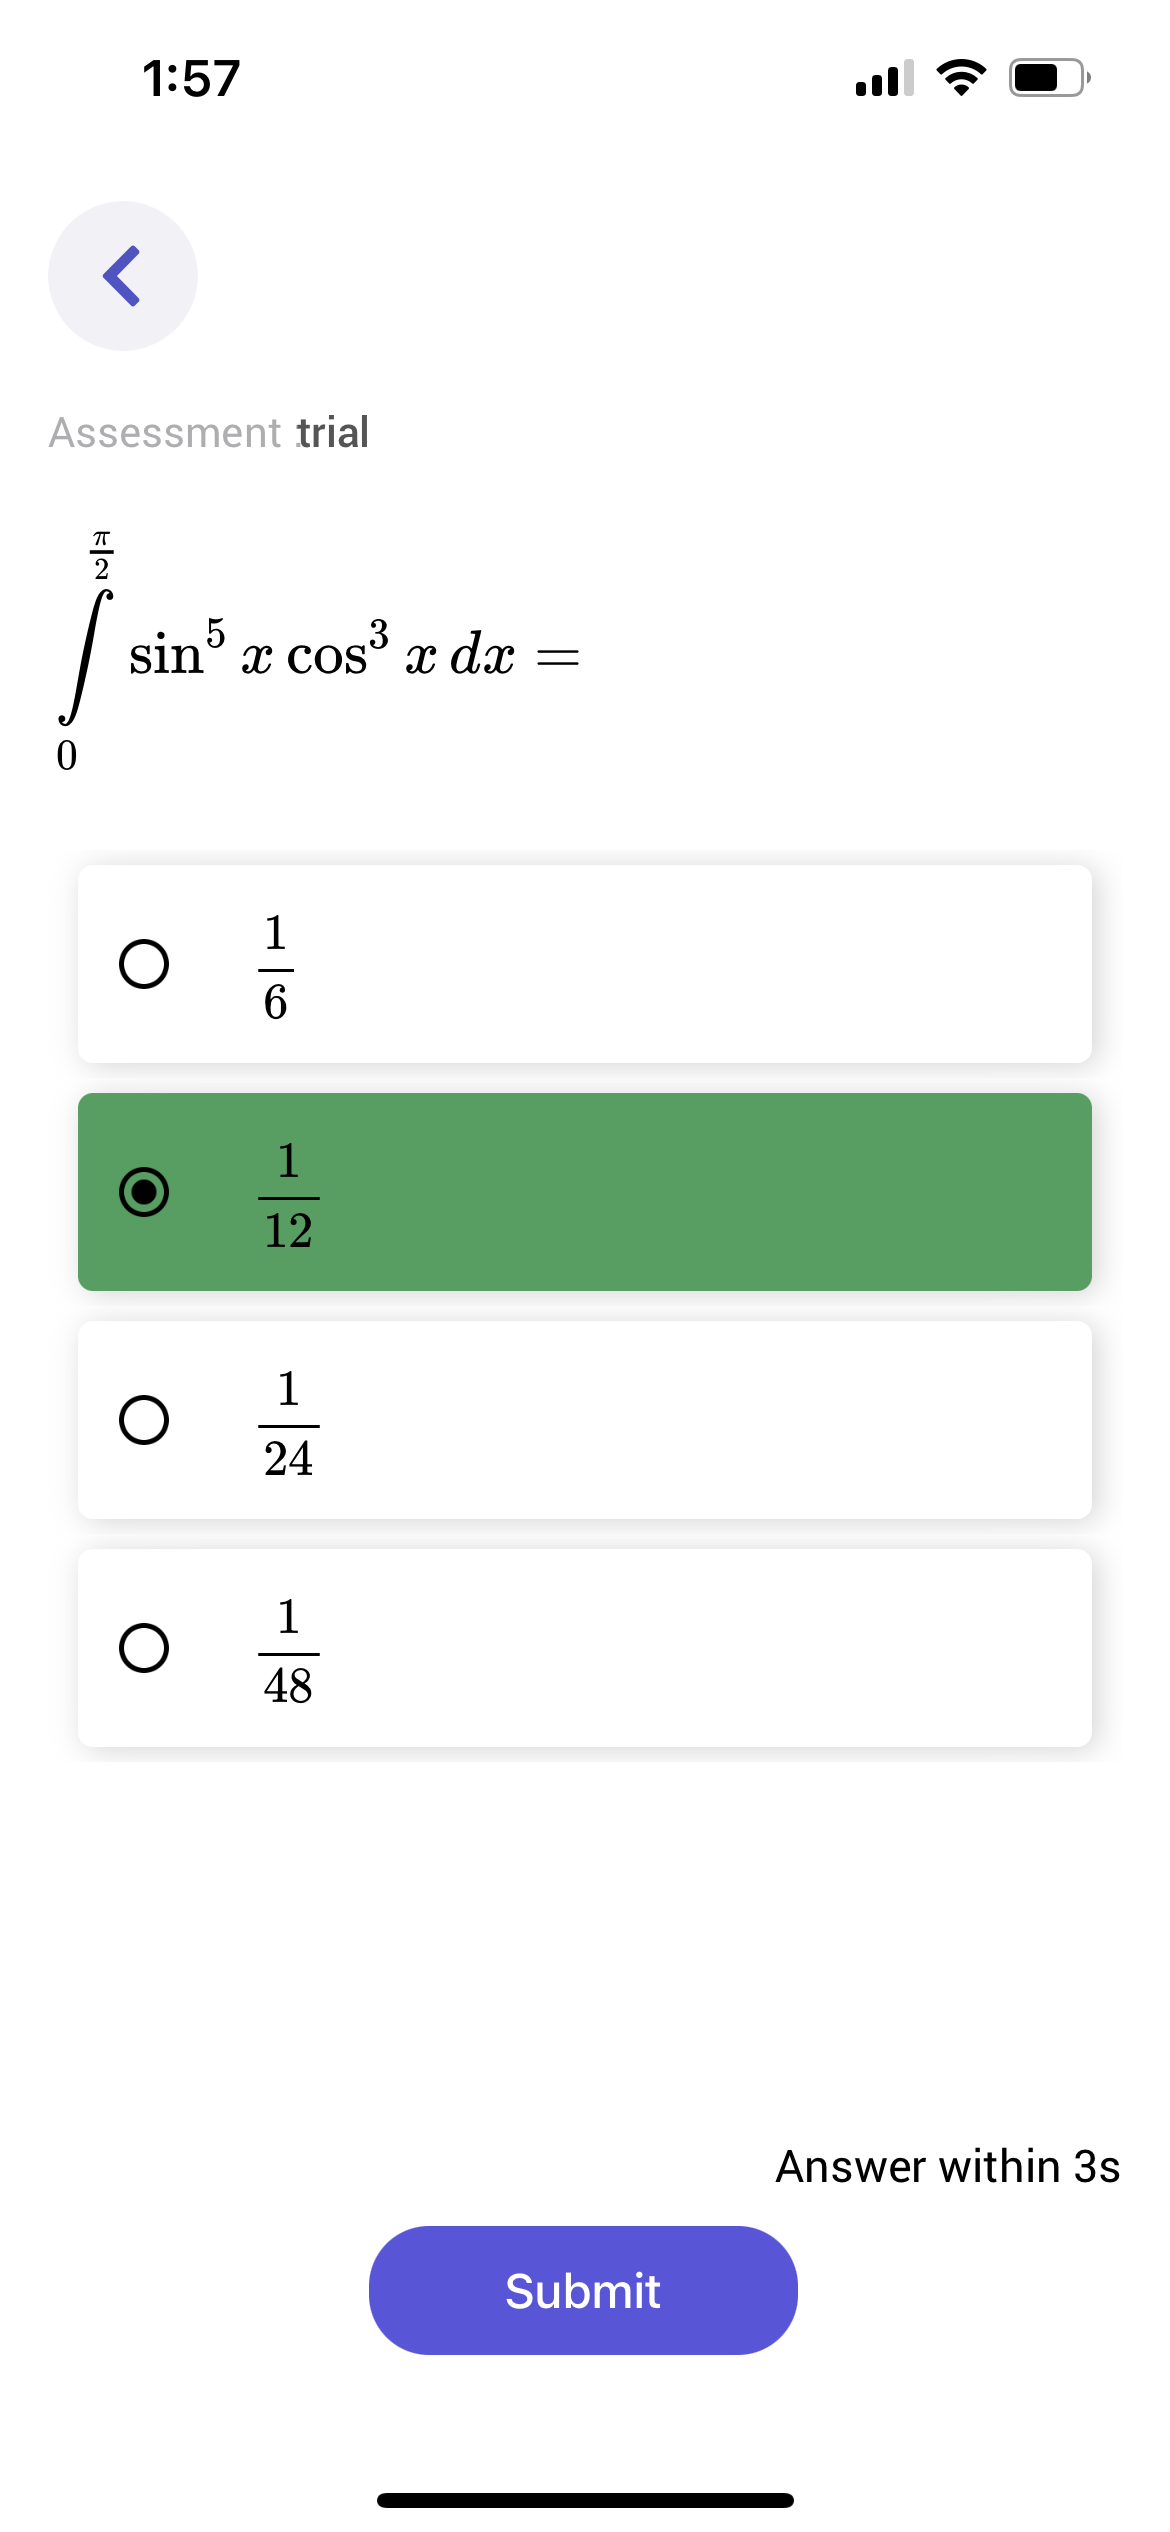
- If the student selects an option and the timer ends before the student submits it, the selected option will be auto-submitted as the answer.
5. To preview the image file attached by the faculty select the image thumbnail to get the full view of the image.
6.Select the desired answer for the question displayed and click on submit answer button to submit the answer.
7. Once the answer is submitted, and when the faculty selects the ‘Show Question Results’ option, the student will be able to view the right and wrong answers shaded in green and red respectively.
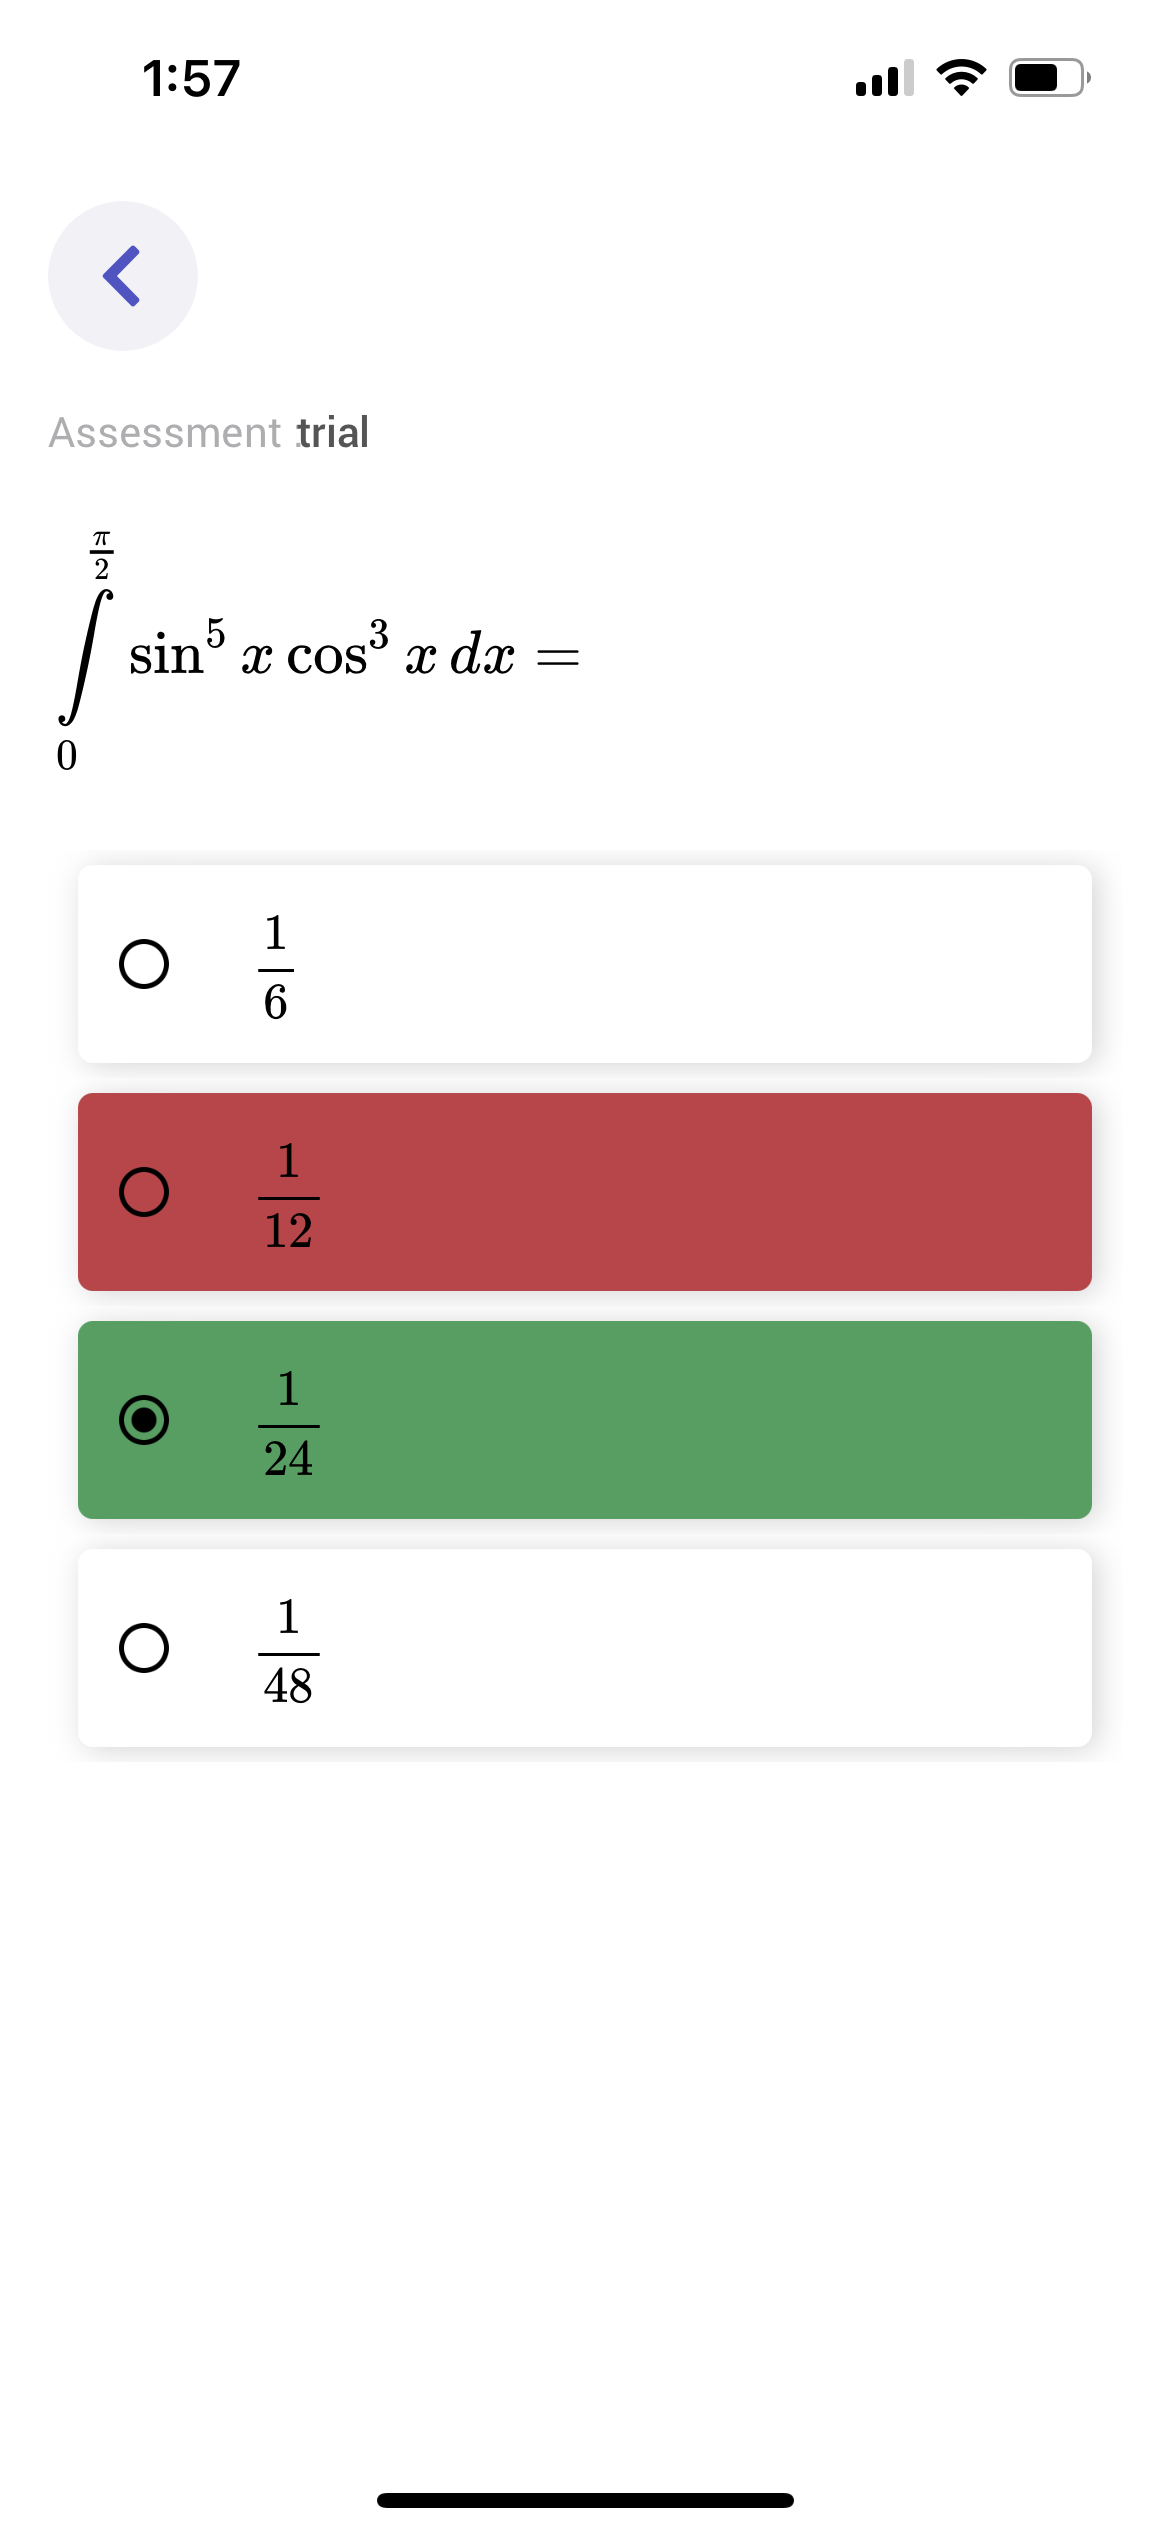
8. When the faculty selects the ‘Next Question’ option the student will be able to navigate to the next question in the assessment.
9. Once the faculty ends the test, the test is ended for the student too and is redirected to the results page.
